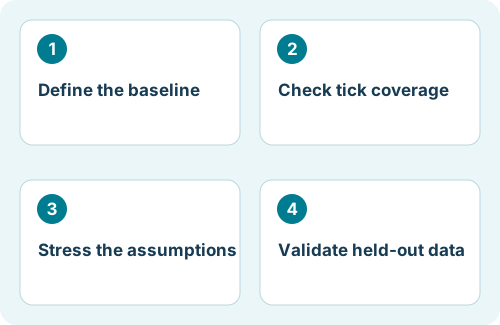
Start with the exact EA and a fixed question
Install the MT5 version of the EA and confirm it appears in Navigator. Open View → Strategy Tester or press Ctrl+R. Choose a single test rather than an optimization for your initial baseline; wording and layout can vary with terminal build.
Write down what you are investigating before you run it: trade logic on one market, account drawdown under a particular preset, or behavior when execution slows. Save the EA version, broker server, terminal build, and preset so you can reproduce the result.
Do not test an MT4 file renamed as an MT5 file. The two platforms require their own compatible implementations. An EA that depends on live web services may also need documented tester support.
Configure a single test
- Select the Expert, exact broker Symbol, and timeframe.
- Set the historical date interval and a realistic deposit, currency, and leverage assumption for the experiment.
- Select Every tick based on real ticks where appropriate history is available. Allow time for the initial data download.
- Choose a documented execution-delay assumption. Keep it consistent for the baseline, then vary it in separate stress tests.
- Load the compatible preset in Inputs and inspect the resulting values. Confirm optimization is disabled for this run.
- Run a short visual test to inspect the opening and closing logic, followed by the full evaluation period.
Record account and symbol specifications. Minimum volume, volume step, contract size, and account mode can matter even when the chart looks identical to another broker’s chart.
Real ticks improve the inputs, not the certainty
Real-tick mode uses broker-recorded ticks when available. Inspect coverage rather than assuming the label guarantees a complete record: MT5 can generate ticks where minute history exists but the corresponding real ticks are missing. Generated Every tick and real-tick modes are different experiments.
For a strategy whose exits depend on small intrabar movements, simplified OHLC or open-price modes may miss the relevant sequence. Use faster modes for questions they can represent, not as a substitute for a more appropriate final validation run.
Even detailed historical ticks do not recreate every live fill, liquidity condition, rejection, or service outage. The test is strongest when you clearly explain both the data it uses and the execution assumptions it cannot establish.
Run a small sensitivity study
| Change one assumption | Keep fixed | What to look for |
|---|---|---|
| Execution delay | Preset, data window, symbol | Does trade behavior or profitability depend on instant execution? |
| Test period | Preset and account assumptions | Does the strategy only look strong in one selected window? |
| Broker data source | Comparable symbol/account assumptions | Do data or contract differences change the result? |
| Exposure setting | Other strategy parameters | How do drawdown and margin use change, not just profit? |
Inspect commission and swap assumptions and the costs actually shown in the output. MT5’s cost configuration depends on the symbol, account, and available tester settings; do not assume a cost-free report represents your broker. Label custom changes explicitly.
Keep every run, including failures. Changing several variables at once makes the explanation ambiguous. A modest, well-recorded set of experiments can be more informative than thousands of optimization passes with no independent validation.
Use MT5 forward testing correctly
The tester’s Forward option divides historical data into a selection period and a later non-optimized evaluation period. It is useful for checking whether candidate parameters hold up outside the portion used to select them. It does not place the EA into future real-time trading.
If you use optimization, define the split and evaluation rules in advance. Compare back and forward behavior, including drawdown and number of trades. Selecting a new winner after repeatedly examining the same forward interval turns that interval into part of your research process.
After historical validation, use a separate real-time demo test with frozen settings. Treat historical forward testing and demo forward testing as complementary checks rather than two names for the same thing.
Save evidence you can audit
- Export the report and retain the exact .set file and EA build.
- Record real-tick coverage, dates, execution delay, and broker server.
- Review Journal for data, dependency, order, or initialization errors.
- Inspect exposure, equity drawdown, trade count, and unusual large losses.
- Record any tester-only differences from the intended deployment.
For Flex EA, start with the MT5 build and preset supplied for that release. Check strategy-specific testing guidance before assuming news filters, licensing checks, or multi-symbol behavior are simulated exactly. A successful historical run is a reason to investigate further, not a guarantee of live performance.
Why are two runs different?
Compare the saved inputs, historical data, symbol specifications, costs, and delay mode. Random-delay testing is intentionally variable. First reproduce the baseline; then investigate strategy behavior.
References and scope
Platform mechanics are documented in the official MetaQuotes references below. The workflow, checklists, and examples are editorial guidance. Menus and available features may vary by terminal build and broker. Flex-specific notes refer to the product homepage; consult your installed release’s member documentation for exact inputs.